- different numbers of layers of machine stitched fabric
- different techniques for cutting the fabric
- using different stitches; free machining, cable stitch, whip stitch and programmed patterns
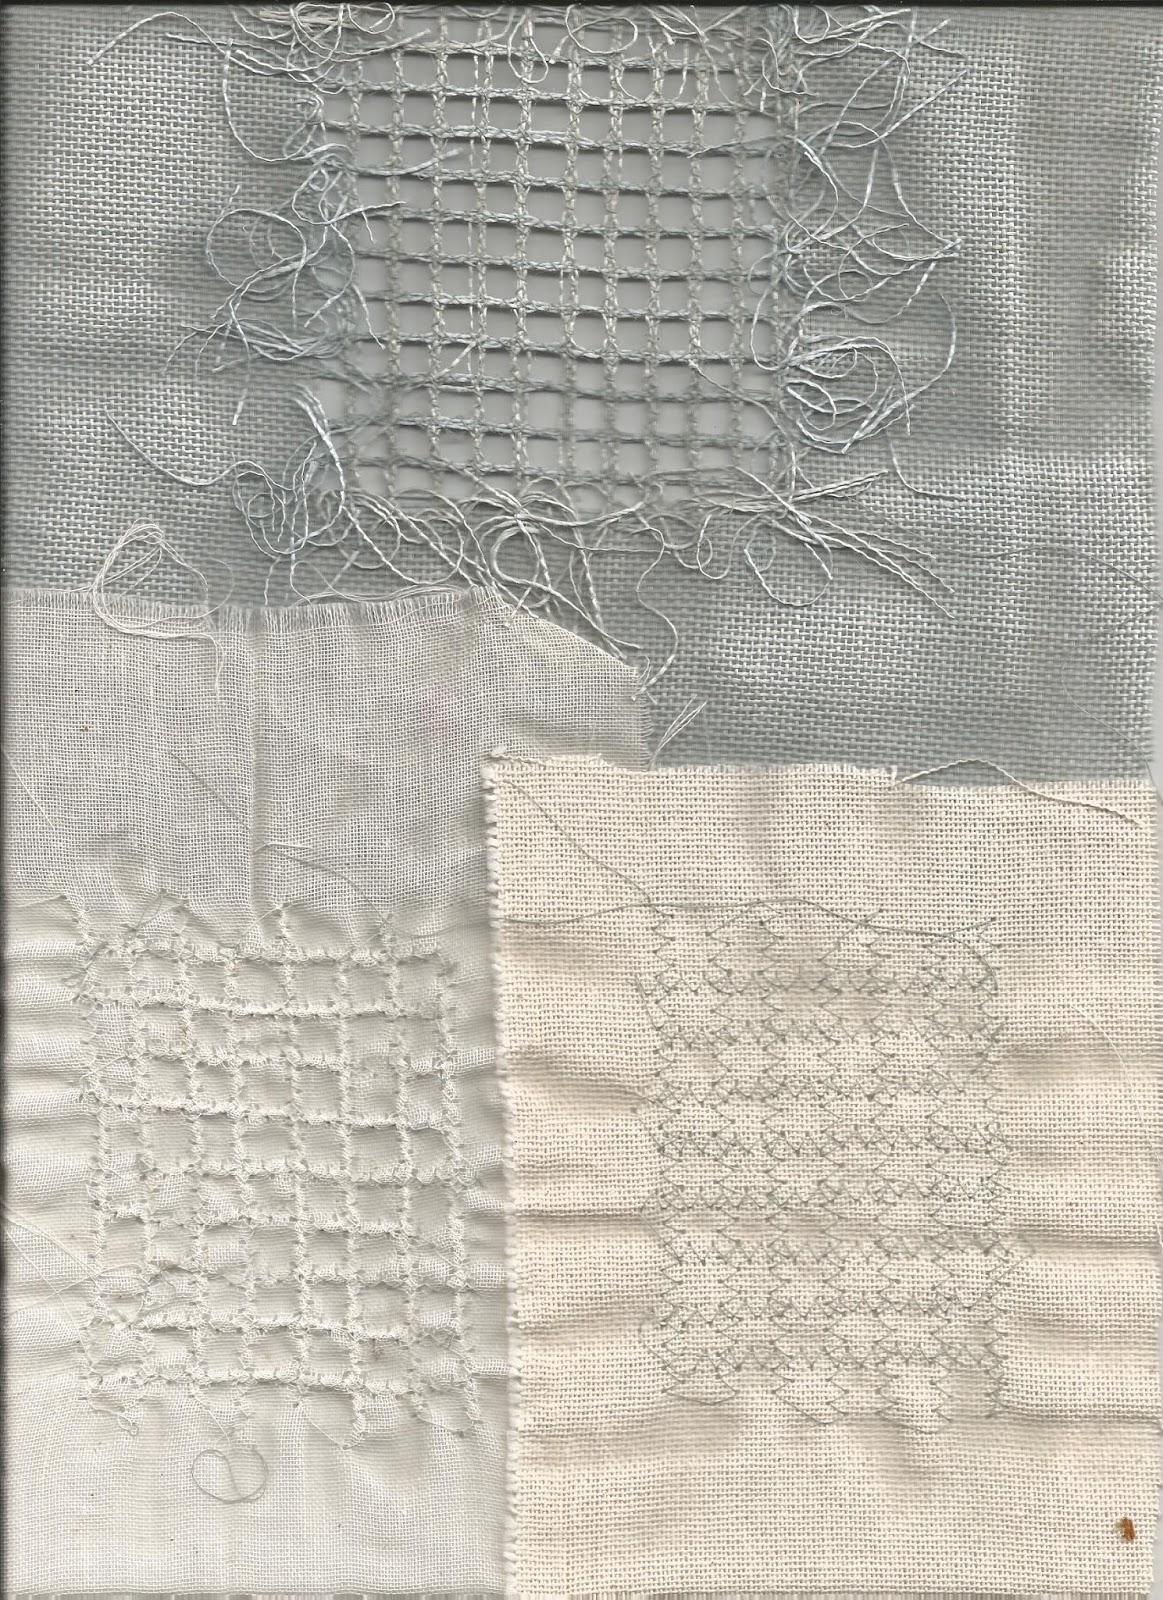
Sample 1 is using two layers based on the developed Design 1 from Chapter 2

Background fabric: The frottage pattern was stitched using a spiral pattern of the zigzag machine pattern on space dyed cotton calico

Second layer: Two different layers were made both using a hoop: the top sample shown below involved running stitch on chiffon following the subtle lines on the top layer of the design, the second outlining the edge of the cutouts on scrim. Fine lines were drawn on the reverse of the fabrics to ensure stitching was limited to specific areas.

The final piece was made up of the chiffon layer stitched to the background fabric, using sufficient lines to hold the two fabrics together, then cut as the cut shapes dictated.
Both cut outs were cut with very sharp small scissors then frayed.
However the scrim was cut as a separate layer with no attachment and could be added as a third layer.
Completed piece two layers and what it might look like with the third layer added.

The two-layered sample shows more clearly the light striations in the top layer as found in the design

Sample 2 is three layers using a frottage sample with a black background from Chapter 2.
Although there was no cut out design development I thought to provide a sample with cut outs on different parts of the next two layers to reveal the dark background fabric. I worked mostly with cable stitch using thicker threads to represent the thicker pastel crayon lines.
The background was worked using a dark blue polyester cotton, with multi-plyed wool, variegated grey wool and 6 strand embroidery thread. Some threads proved quite difficult to use in the lower spool, smoother and 4-ply or less running more smoothly. If I wanted even more texture on this layer I could use thicker threads but hand couched or machine stitched using a zigzag stitch.

Layers 2 and 3: The middle layer I chose to use nylon and variegated nylon threads. The top layer pale blue voile with a zig zag arrangement of running stitch using with a loopy cotton thread
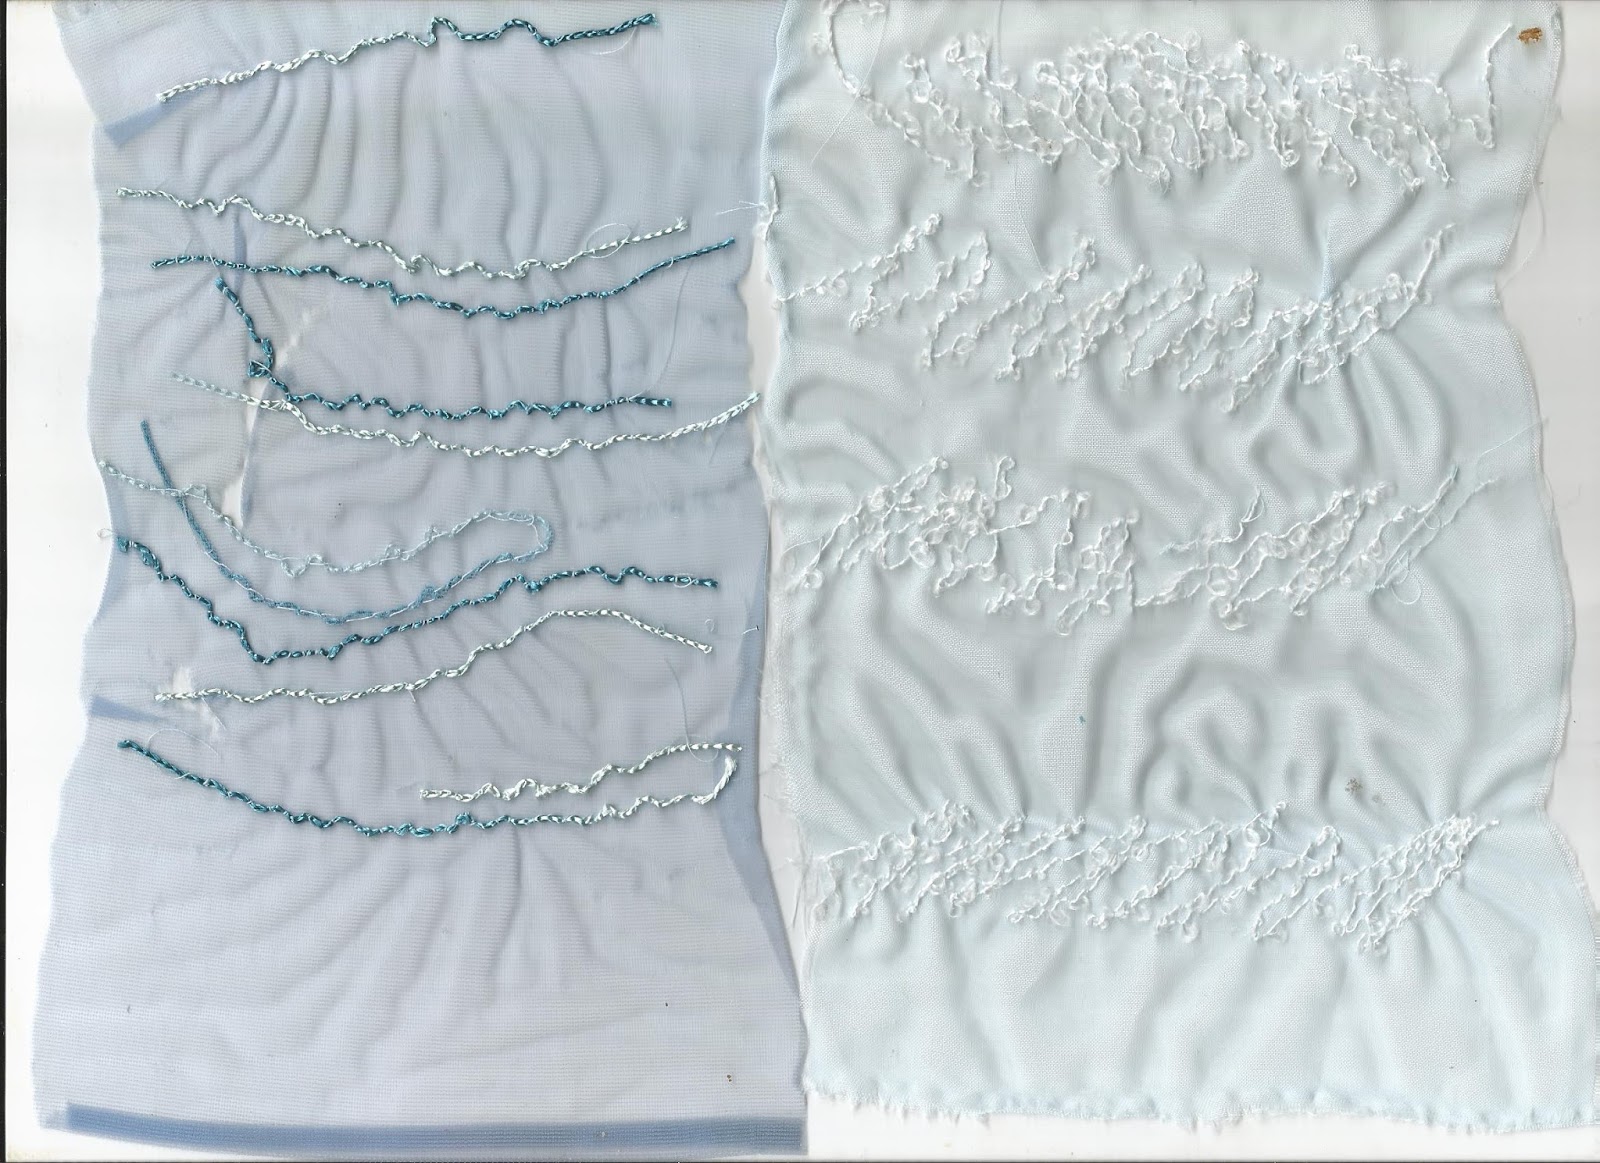
The middle layer was attached using variegated sea coloured thread in free machine wavy running stitch ensuring space was left. The fabric was cut in long sections, the nylon curling up slightly at the edges.
The top layer was attached using diagonal zig zag arranged rows within the area of existing stitch, on to the existing two layers. These were cut to leave the four banks of stitched fabric and frayed.
The total effect represented the original design but the top layer could have been in a less opaque material, or maybe the middle and top layers could have been switched.

Sample 3: This is made up of three layers using Design 4B from Chapter 2
The difference in this sample is using organza and voile and cutting with a soldering iron.

The background fabric is mottled grey felt with lines of cable stitch mostly perle thread. Not shown here but on the final piece I added a cable stitched diagonal shaded area across both the top and bottom areas overlying the rows using 6 stranded embroidery thread. I chose to provide these colours to pick out the bleached areas on the design coloured paper.

The next layer is cable stitch variegated brown wool with upper thread in white, stitched leaving areas to be cut. The fabric was cut where the drawn design occurred, melting the edges. (Health & Safety required a well ventilated room, safe storage of the soldering iron and I would wear a mask to protect against the odour from the burning. There was a glass cutting mat)

The final layer was a glittery organza with running stitch and some circular effects. The thread in the lower spool was vanishing thread. This picture shows the cutting once completed was turned as I felt this layer showed the design separate from the middle layer.

I then turned the whole piece to highlight the design pattern from the original

Each layer was attached using pale brown wavy lines, first the middle layer then the upper layer.
Sample 4 was probably done using truer applique methods
4 layers were added to a Dylon painted with tonal changes on calico background based on Design 6 in Chapter 2 - Sheets of equal size of grey felt, linen scrim and shiny white organza.

The different areas were drawn on the back of the calico piece

This side was used to guide the cable stitched areas - initially the stitch requirements on the grey felt

Using the lines and sharp small scissors I cut away the felt
I then cable stitched the dominant design on the linen scrim. The choice of fabric highlighting the textured patterns of the design. The required shape was cut away using the same technique with the felt.
Finally Vermicelli free machine stitching trapped the shiny organza in place. I worked from the back of the sample since the tensions allowed the vermicelli stitches to show up. Finally the organza was trimmed away looking at the front of the sample with some fraying.
The previous layers were stitched into as each layer was added.

This final piece I feel worked particularly well a good representation of the original design.
It wasn't until putting this chapter together that I realised some broader and more textured areas could have involved use of couching of threads with machine zigzag. Also the cable stitches were quite tight and precise I was not able to produce freer with looser holding threads
It is interesting how combinations of layers work together, sometimes working to a specific image or making happy accidents.