Each sample was drawn within a 10cm by 10cm frame. This was drawn on the fabric to help limit the area covered.
Needles: 100 and twin needle
Threads: colours were those related to drawings some textured especially for the cable stitching
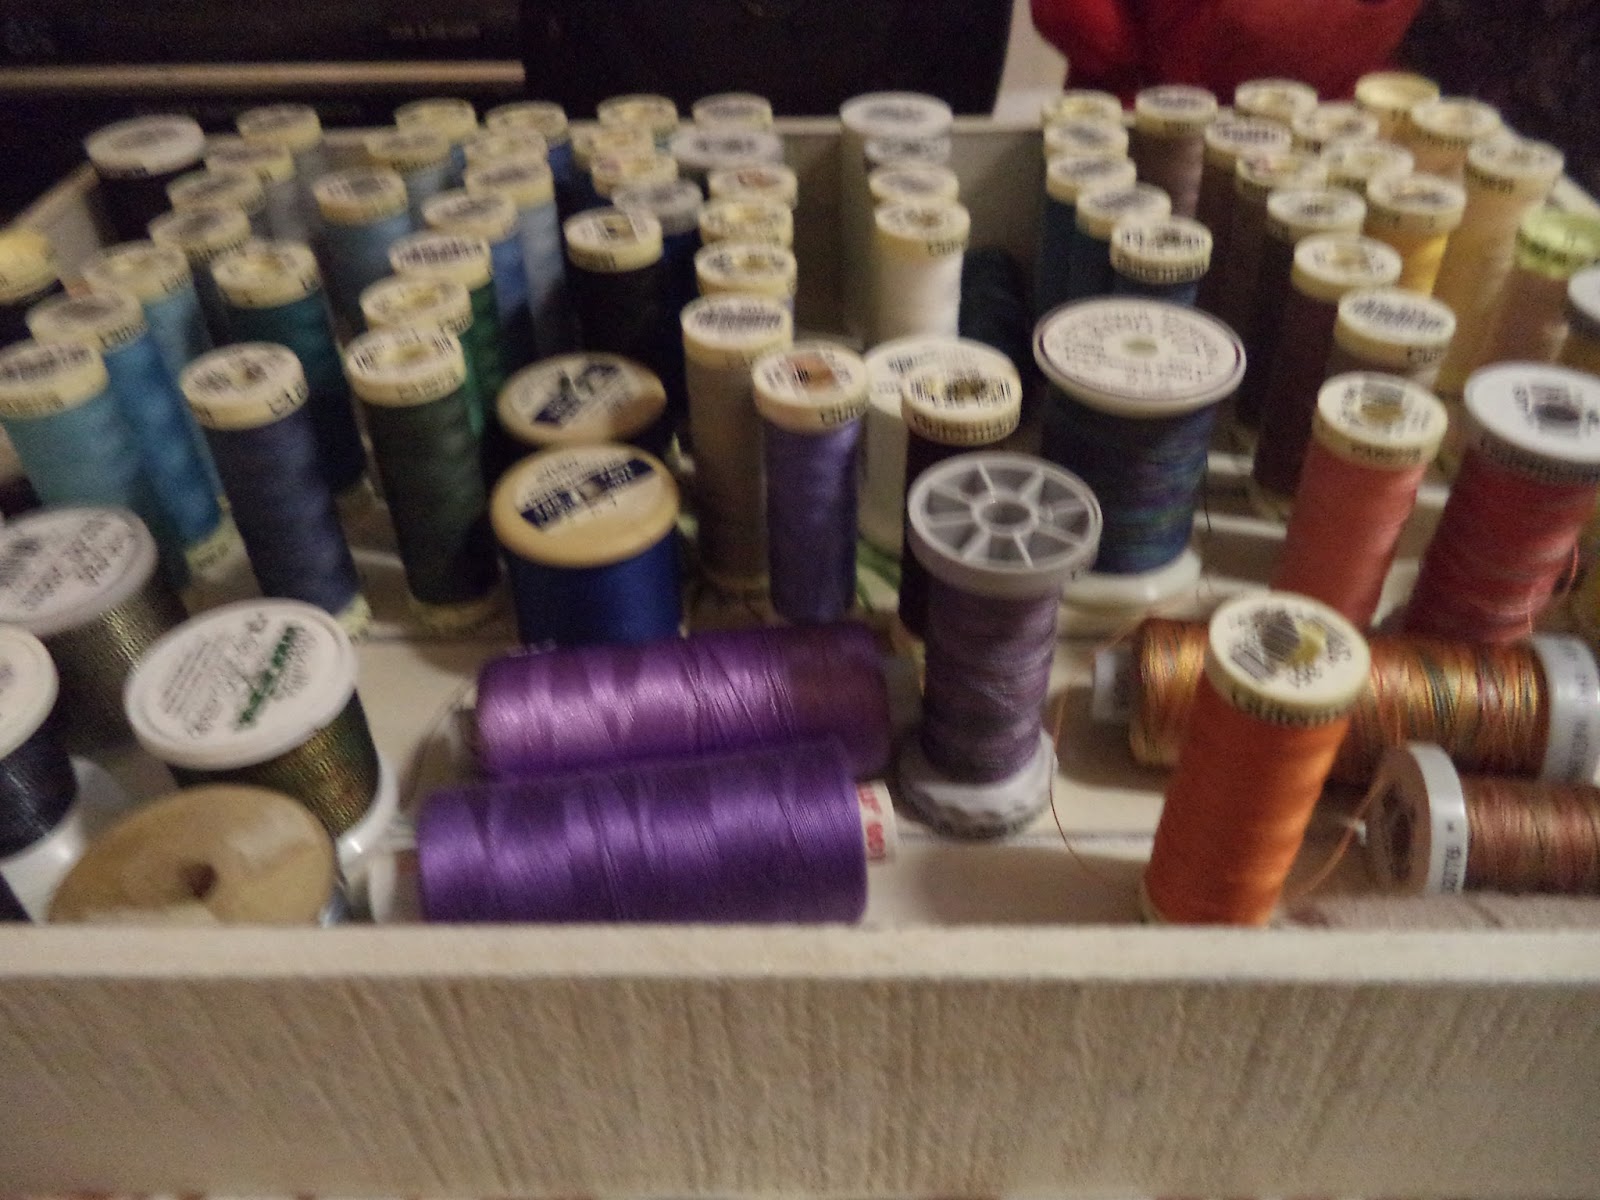 |
| Just some of the machine threads from which I could select |
Fabrics: mostly those coloured in chapter 4, extending into commercially produced materials where applicable
It was interesting to see how different fabrics affect the stitch
Fabrics were chosen from different types:
- Felt or padded layers - quilting gives bulges between stitching, including fabrics with sheen if using fabric and wadding
- Flimsy or stretchy: Loose in a ring or out of a ring, or tight in a ring
- Transparent fabric (Dissolvable see Chapter 7): using 100 needle or twin needle
- Open weave: scrim or muslin: consider direction of stitch and production of holes resulting from the technique
Types
- straight stitch
- zigzag stitch
- wavy stitch
- pattern on the machine
- whip stitch
- cable stitch
Layers: of thread or fabric with changes in colour.
In this chapter I tried to get away from using the photographs, the samples representing the marks or drawings.
However in order to get a bit of structure in the sequence of samples I used drawings related to clouds in Samples 1 to 4 and to water in Samples 5 to 9. Samples 10 and 11 show use of loose weave fabrics in a hoop without background fabric and use of twin needle without a hoop respectively.
Samples 1a to 1c quilting using wadding or felt and straight stitch
 |
Bottom image was used for this sample |


The looser muslin and voile with wadding gave a plumped up effect a better texture for the images.
These fabrics were laid over the wadding in the hoop only loosely attached with pins in each corner
The felt gave a flattened image where stitched left raised a little where not stitched.
Samples 2a and 2b were on felt varying the direction of zig zag stitch to capture the lines. Image 2b was the best to show this. Not only was the direction of stitch not as effective in 2a but also the use of a metallic thread was not as appropriate to capture the darkness and dullness.
 |
| Top image was used for each of these samples |


 |
| Reversed the colours on this using blue thread on white and changing the tones from darker blue at the top to paler blue at the bottom
Samples 4a to 4d using mostly dyed cotton and calico with whip stitch in the first two samples and cable stitch in the last two
  
Whilst doing this I realised I'd not increased the tension on the upper thread, although I had changed the lower bobbin to a looser one. The upper lines had the tension altered

Samples 5a to 5d Mostly wavy lines in straight although also tried zigzag on 5c. Matt and sheen organza fabrics were used. Also wanted to a quilted effect for the water theme so all samples were either with wadding or felt.
    
The first two I feel were simple but effective, I don't know what went wrong with the third just could not get the zig zag to work properly, and because the colours of the dyed fabric in the fourth was so vivid it worked alongside waving and interlinking lines of stitch.
Sample 6a Used organza over a space dyed cotton varying the zigzags to reflect the drawing
 
Samples 7a and 7b. 7a was Pattern 1 on the machine using muslin on felt and a frottage image and 7b was a mix of cable stitch and straight stitch with nylon on cotton. The tensions in both could be improved.
 
Sample 8 Used an open weave cotton muslin with straight cable stitch

In using the reverse of the fabric I managed to alter the curve of the stitch, so need to remember to reverse the image accordingly to get the direction correct when using the back. The glitter in the wool adds the effect of the shine linked to a waterfall effect.
Samples 9a and 9b. Used scrim on different fabric backgrounds
   
Samples 10a to 10e Using different coloured scrim in a hoop - drawings are highlighted in my notebook

Samples 10 d and 10 e using narrow zig zag. 10e was the least relevant to any drawings

Samples 10b and 10c using narrow zig zag in waves with different effects dependent whether followed creases or crossed them

Sample 10 c

Sample 10 a using straight stitch
None of these samples have distinct shaped holes as in the Distant Stitch notes and am unsure how to do this. Zig zag stitch captures threads together and using a lighter lower thread gives highlights to the rows.
Samples 11a to 11d: Using flimsy fabric and twin needles
Reference was made to the book 'Machine embroidery: stitch techniques' by Valerie Campbell-Harding and Pamela Watts, Batsford 1989(2000).
Really like the twin needle effect of stitch, raised fabric and added shading from the fabric and can imagine them working well as layers

Sample 11a used pale blue voile, Sample 11b pale yellow silk

Sample 11c used shiny grey organza and 11d white polyester silk
In Samples 10 and 11 I noted each alongside drawings in my notebook. Those for the twin needle were easier to manipulate to follow the drawings.
|