This is an A5 size.

Drew up an enlarged preliminary design with some initial ideas for fabric manipulation and stitches including being selective with fabrics I'd want to use. This A4 size.

The idea is to take each textured area and translate it into manipulated fabric and/or stitch.
First of all I needed to reduce the number of pieces as shown below to areas A to F in white print. These areas are mentioned throughout as work on samples

Another decision was to change the colours from yellow pieces with brown markings on black back ground to mostly cream on dark brown background using mostly brown range of coloured yarns. It helps having black and white photocopies.
Selected a range of fabrics


and a number of different yarns from fine machine threads to chunky fraying variegated wool.

In order to have samples for each shaped piece made trial samples from them as they were of a manageable size.
The samples were laid on dark brown Dylon dyed linen scrim as they were completed.
I tried to no longer think of the original photo, but refer only to the marks for working.
The trial samples included three sets, so each shape was worked into three different techniques
First: Examples of fabric manipulated methods
Second: Hand stitched methods
Third: Combined fabric manipulated plus hand stitching including two of each
(i Hand stitch on fine fabric then manipulated afterwards
(ii Manipulate fabric with stitch
(iii Manipulate fabric then hand stitch on top
I aimed to have different contrasts of texture between one shape and another
For each, an initial idea was noted, allowing for changes of idea and technique as I reflected on fabrics and yarns available. I noted main elements of techniques on the reverse of each sheet.
1. Examples of fabric manipulated methods
The pieces as completed were pinned to the dark fabric background


Liked the way in A the silk pleated; the gather effect in B, gathers in D and scorched marks on calico using a soldering iron in E.
2. Hand stitched methods


There was more use of coloured fabrics in these samples which were effective but prefer those with a more cream background, when considering the resolved sample.
Pleased with the wadded quilting in A and C, but possibly too thick alongside some of the other pieces; managed to get more layers of yarns in B and F
3. Combined fabric manipulated plus hand stitching including two of each
(i Hand stitch on fine fabric then manipulated afterwards
(ii Manipulate fabric with stitch
(iii Manipulate fabric then hand stitch on top


In these samples in A felt the pleats with beading wire worked well, pleased I could work two types of quilting in C with feathers and sand then small area of Trapunto quilting and finally both E and F fine fabrics hand stitched with fly stitch on one, blanket stitch on the other varying and overlapping the stitches in keeping with the design shape and markings. Liked the finishing touches using soldering iron on E, and in F folded layers for thickness with additional folding on the top layer with inserted pipe cleaners.
Here is a photograph of me surrounded by the samples, fabrics and threads as I stitched the beading wire through the pleats in A.

Resolved sample
In order to produce the resolved sample I selected two pieces from each type of work, arranging them on another dark brown fabric background. I selected cream backgrounds to contrast with the background fabric and a variety of techniques.
The background was made up of two layers of fabric and as a token to the original seascape, machine stitched a basic picture of the shore looking out to sea. Most is lost once the samples were put in place.
Here is a photo of the resolved sample before the beading, with realistic colours.

Some beading with stitching to hold the pieces in place completes the resolved sample. (Note the sample is only pinned in place). This was a night shot which has resulted in an apparent colour change. See on above for the actual colour range.

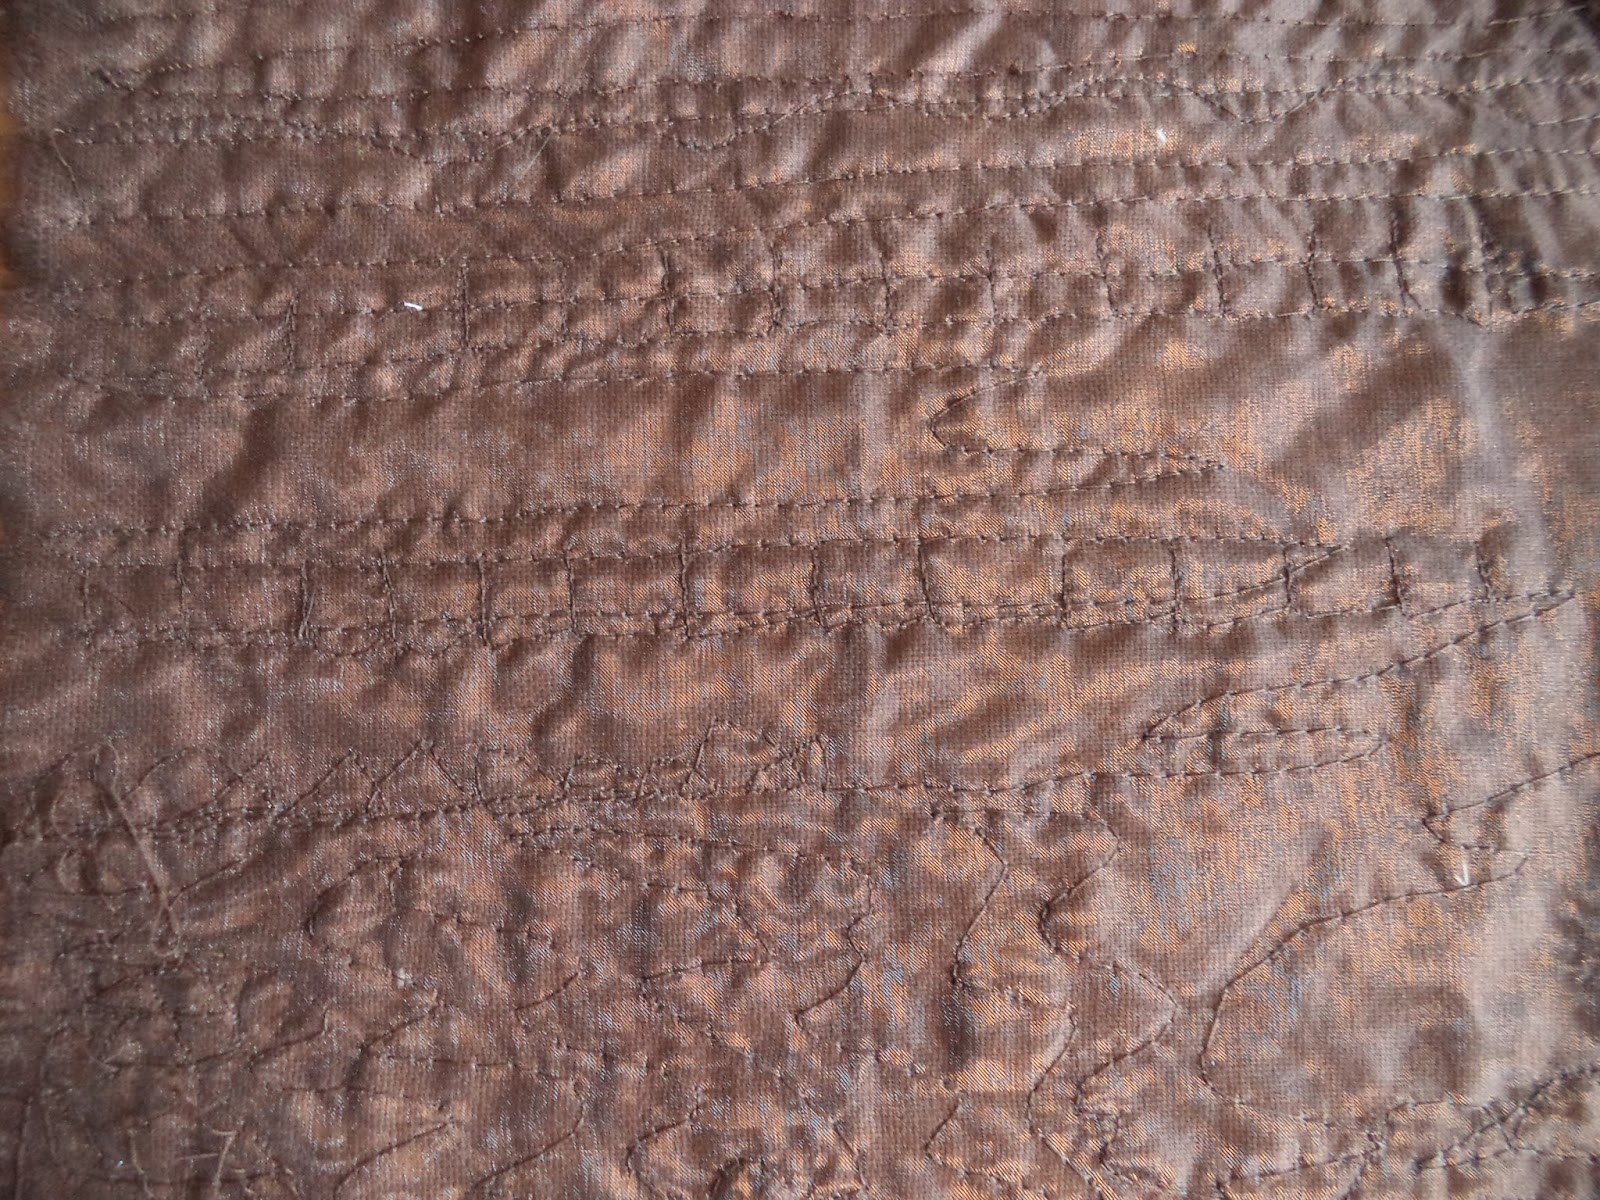
plus hidden background(this is its appearance before pieces were added)
Whilst doing the trial samples also tried a knitted version of a different cut design, this time on a pale blue and light brown machine stitched background, not complete but an interesting idea. This was not timed or costed.

Time taken for Chapter 11 - 10 hours
Time taken for Chapter 12 - 13 3/4 hours
Costs for Chapter 11 - £21.67
Costs for Chapter 12 - £11.80
Finally, I did go on to work with marked pieces on the course with Sarah Burgess ( not Summer School one), but these are yet to be completed. Will send a photo of a couple of pieces when completed, not sure when.
This was a fascinating module and it gave me an opportunity to manipulate fabric and work with so many different stitches to interpret marks related to the seascape. I feel I would like to develop further outside the requirements of the module using natural coloured manipulated fabrics and layering and developing use of stitch. I feel I have a better understanding of the different properties of fabrics and yarns, and with experience will develop this knowledge even further.


