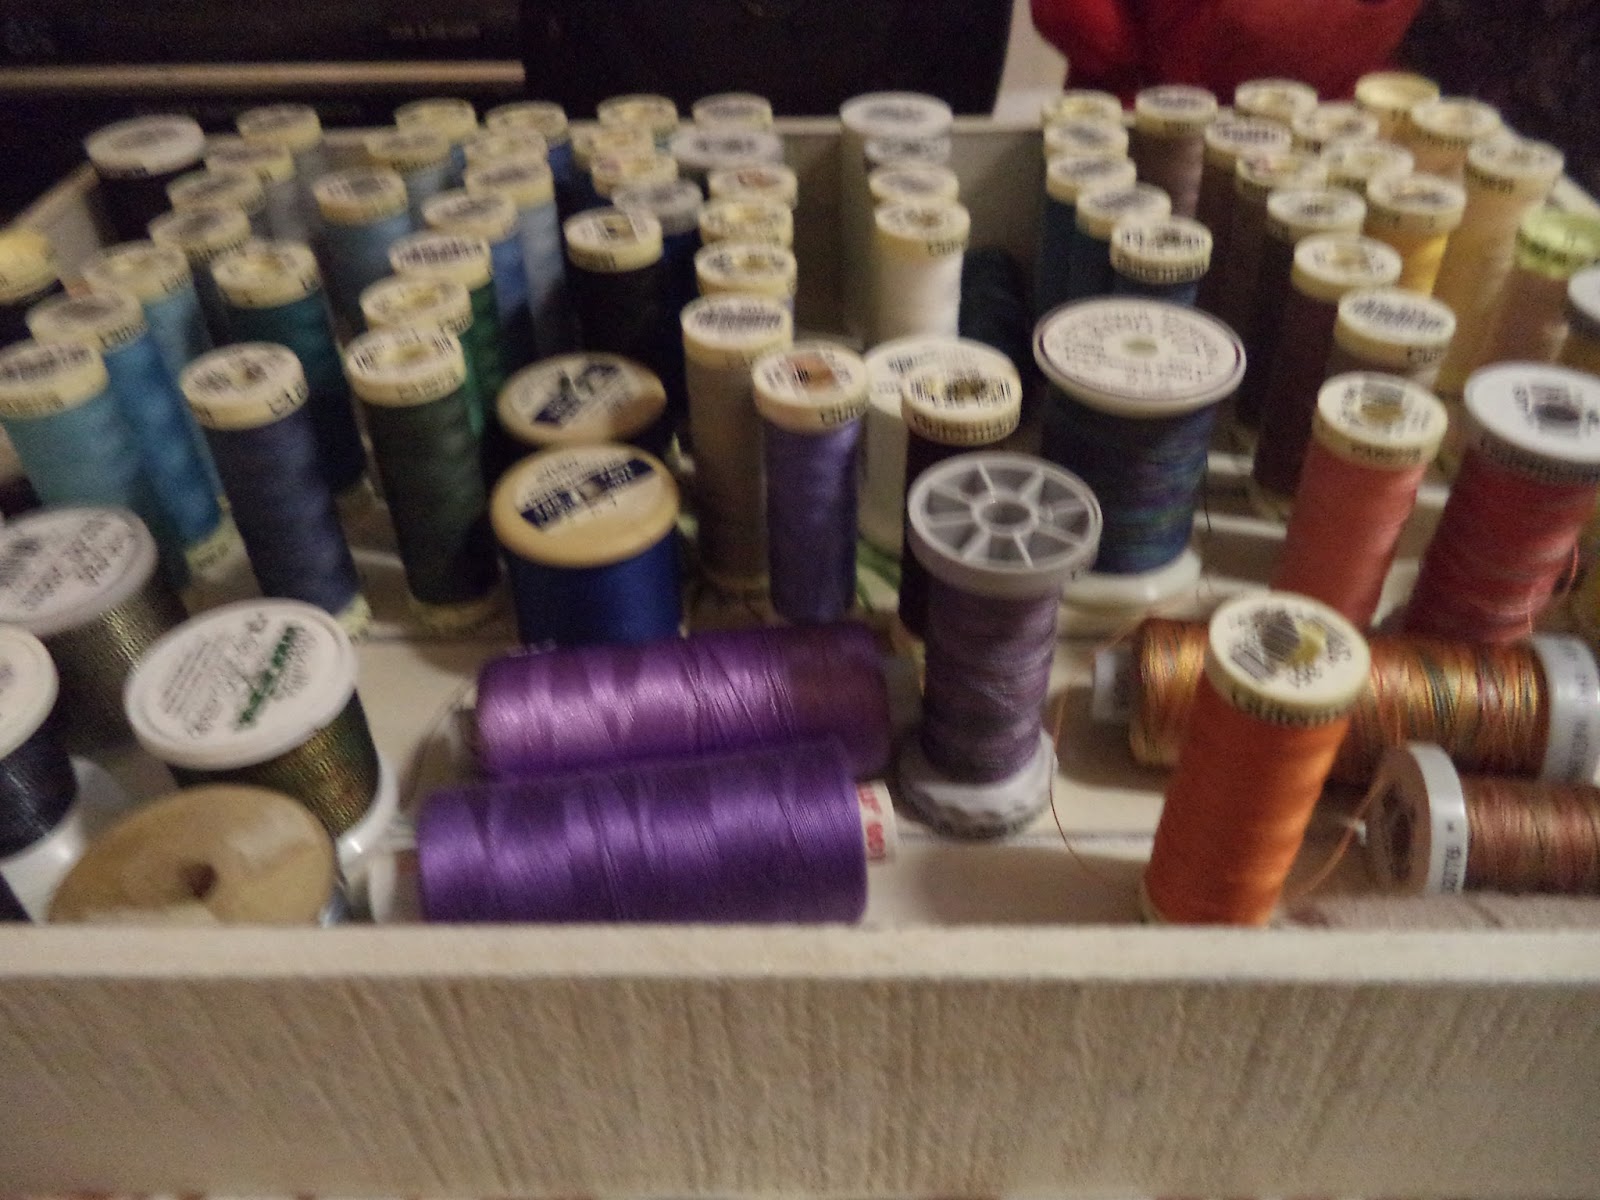
In this chapter commercial fabrics and threads were collected to match some of the sky and water examples in earlier chapters. I also made my own coloured fabrics and threads, using different techniques. Threads were dyed alongside the fabrics.
Commercial threads are recommended for machining, although both commercial and hand coloured thicker threads can be used for cable stitch on the lower spool. Both commercial and hand made threads can be combined.
I used natural fabrics to dye and when I accidentally used man made this was confirmed as the colours washed out. Luckily only 2/3 mishaps on the way. Forgot to use the burn methods, natural fabrics produce an ash, man-made melt!
I made several colourful fabrics as backgrounds with accompanying threads with random colouring which will be later stitched into to give more pattern and rhythm.
 |
| Selection of blue toned commercial fabrics |
 |
| Selection of green toned commercial fabrics |
 |
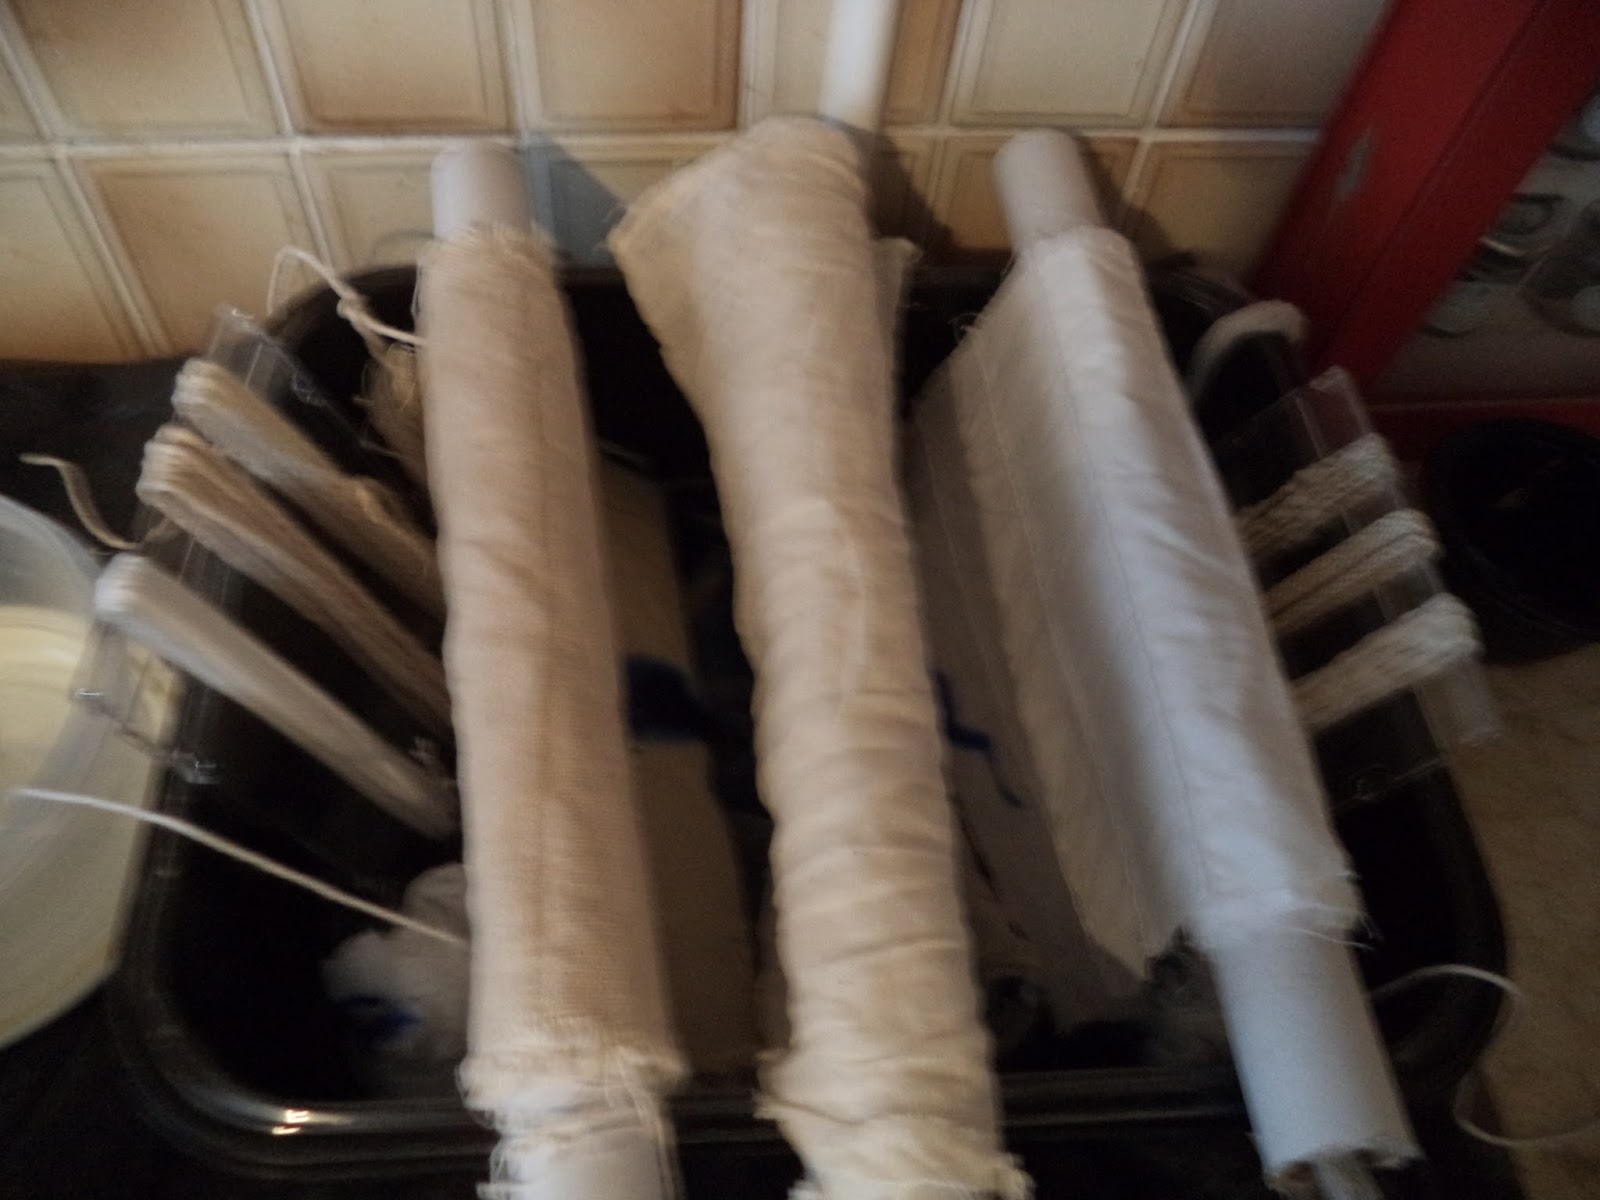
| Selection of natural fabrics ready to be washed |
The techniques used included:
- Dip dyeing
- Painting on fabric and Bondaweb
- Space dyeing
I'd used some of these techniques before but it is easy to forget them.
My previous notebooks and Distant Stitch guidelines were helpful but I also referred to a super book:
Helen Deighan 'Dyeing in plastic bags' Crossways Patch, 2001.
The instructions and diagrams were so clear and I tried to follow them as best as possible.
Health & Safety:
- When using Procion dye powders in powder form I used a mask
- Rubber gloves were used when handling all the solutions, making sure dye, salt and soda solutions were stored in separate air tight containers, using separate weighing jugs and spoons to avoid mixing ingredients at the wrong time
- Fabrics and threads were dried either on a rack or flat with plastic cover and newspapers to protect the floor
- Any children about, need to ensure the above are stored out of their reach and if helping with the techniques, are supervised throughout
- An apron was worn
The methods used for each technique were recorded in my notebook.
Notes: Different quantities of dye solution added to water give weaker or stronger effects.
Using mostly primary colours and some black, gives varieties of colour as they overlap with some tonal change
Avoid overmixing all colours so do not get a muddy mix (unless this is wanted!)
The soda solution is a fixative used to fix the dye
The salt solution to help fabric pick up the dye
Likewise, whether the fabric is dry or wet and when the salt and soda solutions are added gives different results.
1. Dip dyeing see also book by Helen Deighan
Using Procion dyes in water solution
- Washed natural fabrics before dyeing and allowed to dry: cottons, calicos, linen, muslin, scrim
- Prepared fabrics and threads for dip dyeing: flat or scrunched, rolled on tube or ruler, pleated or scrunched up and tied, threads in skeins (some threads wrapped around old CD cases)
- Prepared dyes (used previously made procion dyes in air tight jars) Ultrablue, lemon and golden yellow
- Prepared salt solution
- Prepared soda solution
- Mixed dyes, salt and soda solutions in a bath (tray) (Use within 3 hours after which no longer reacts)
First bath was using ultrablue procion dye (thinking of skies)
Second bath was using lemon yellow and golden yellow procion dye with blue to make green
Threads and fabrics were generally placed in or at the sides of the tray turned from time to time.
The fabric wrapped around rulers to get a tonal change in the colour were dipped into the dye, initially a short length, then every 15 minutes more of the fabric (turning the fabric) into the dye over 1 hour.
Scrunched fabrics were placed in plastic bags with the dye
Then excess dye was poured from the bath some placed in plastic bags.
- The next day washed the fabrics; rinsed fabric in cold water, then warm soapy water, finally in cold water
- Left to dry (using a rack) (may be better to lay flat on a newspapers on a plastic sheet)
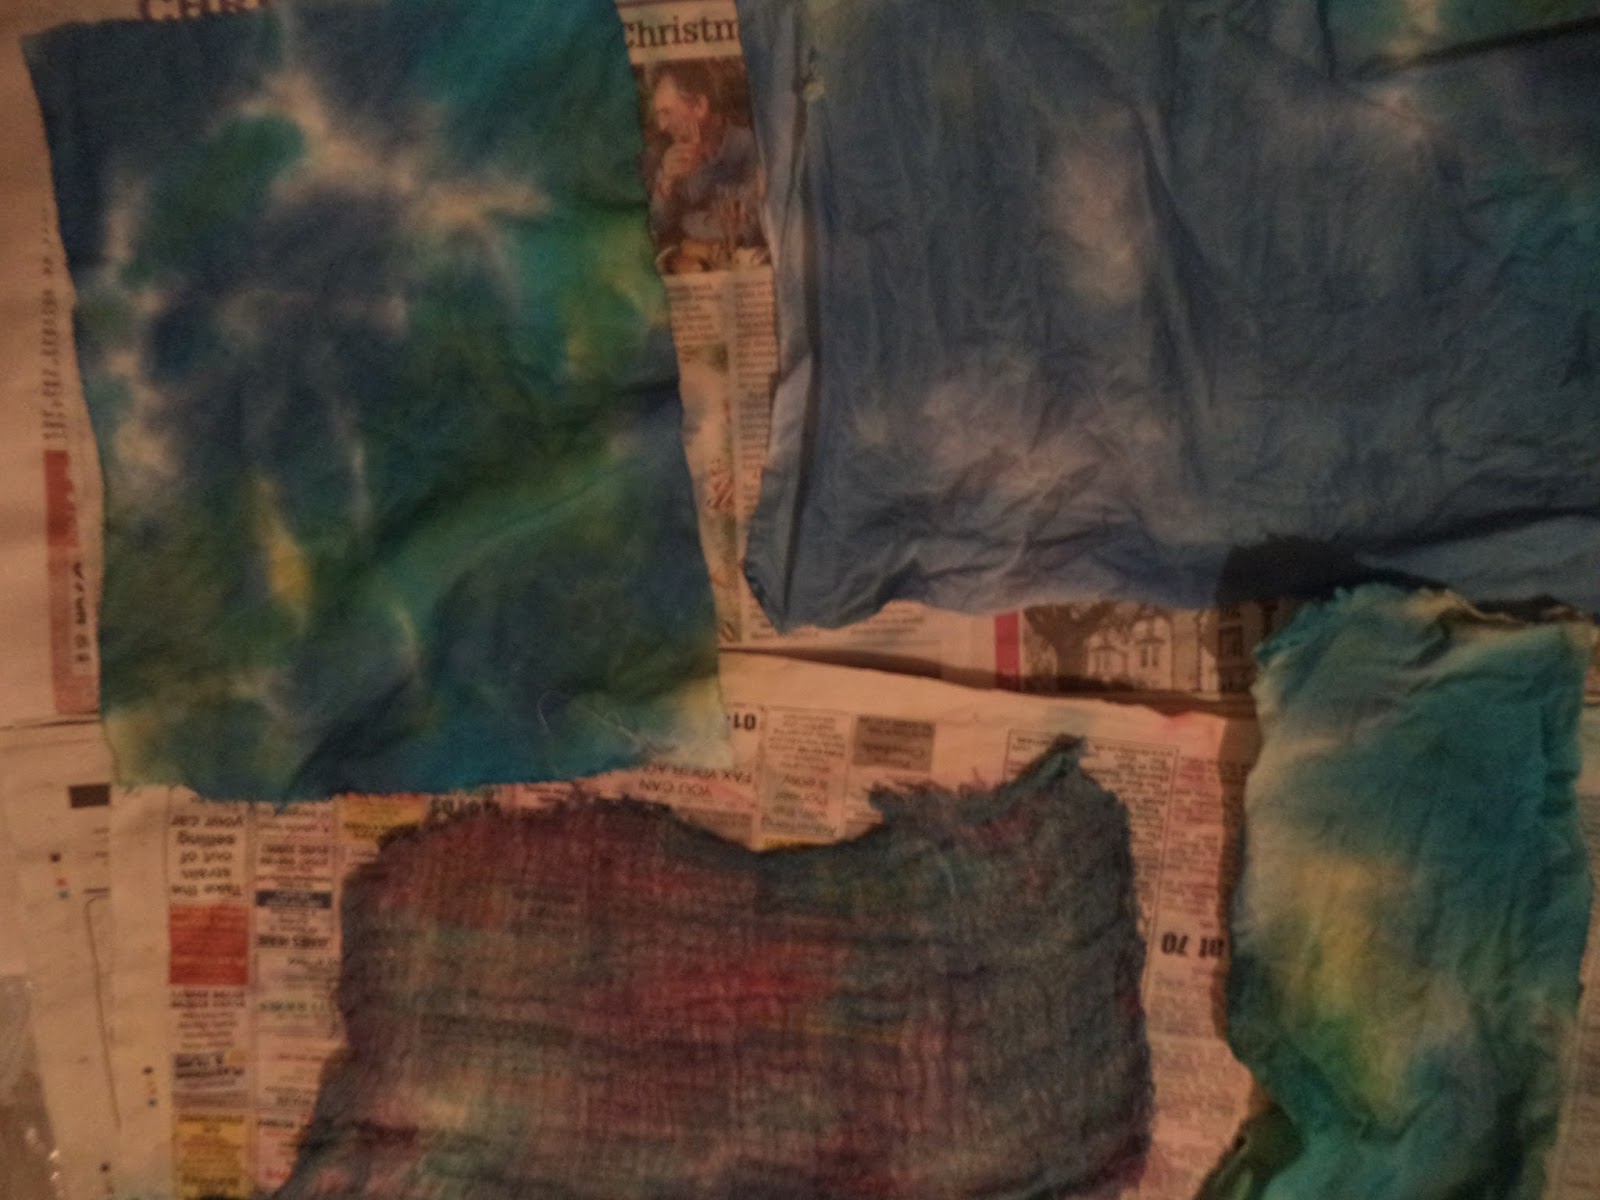
Really like the tonal effect in the blue pieces from the rolled rulers, almost like clouds in the sky
Also, the mixed blue and yellow producing green dye on calico like the colours of water in a pond or river
Because I had no black procion dye but had some Dylon dye:
Using black Dylon dye in water solution
- Used ready prepared black Dylon dye in sealed airtight jar
- Added salt solution and set up a bath according to the instructions on the Dylon package
- Selected some fabrics and dyed as those above
(Insert results from black dyeing)
2. Painting on fabric and Bondaweb
For all of these samples used natural fabrics and coloured commercial fabrics
These are the results of using different techniques:
Painting with acrylics blue, lemon yellow, black, white and silver on natural and coloured fabrics.
Blobs of colours were scraped from left to right across the fabric using an old credit card.
The two on the left were dry fabrics those on the right wet.
Added table salt to the top right
Prefer the wet samples - There was more merging of colours on the wet pieces, but the effect from using the salt was smaller than expected.
The creases shown are from dragging the card across the fabric not creases in the fabric.
Drawing with coloured and black inks
Samples on the left were dry fabrics on the right wet fabrics.
It does not matter whether the fabrics are natural or manmade as the ink is absorbed by both
The coloured Winsor and Newton inks were applied using cotton bud sticks (one for each colour)
Like the merging of colours on the wet samples but also the way the textured fabric bottom left picks up the lines of colour in a rougher way.
Addition of salt to the bottom right piece produced effective results.
Also, those two samples are possibly more effective showing the changing colours of an evening sky.
Also experimented with rug canvas as this photograph shows. The ink applied more quickly on the wet (right) samples. This also clearly shows the different colours of inks used.
The two black inks used were Quink Ink and Khandahar
I wanted to show tonal change in the inks as I applied neat then more diluted black (using water added to the inks) as in the grey skies and seas of previous pictures.
The Quink ink lost its colour more quickly than the other - care needs to taken as to the amount of water added.
With the first was expecting diffusing of black into blues especially on wet fabrics.
Discovered that the Khandahar was more intensely black.
Samples on the left were dry fabrics on the right wet fabrics, on the left Quink ink, on the right Khandahar
It does not matter whether the fabrics are natural or manmade as the ink is absorbed by both
The inks were applied using different sponges dabbing or brushing across the fabrics.
Also added a brown acrylic paint in the same way.
Salt added to this last sample absorbed the inks in an interesting way - more atmospheric!
P
ainting and drawing on Bondaweb
In the first sample the oil pastels were applied using the end or side of the crayons.
Used a wave mask with the Markel crayons
Paints and inks were brushed on over the edge of the mask
 |
| Using oil pastels and markel pen marks on plain Bondaweb - skies or water |
 |
| Using white oil pastels overpainted with watered acrylic paints - clouds and water |
 |
| Using brown and white oil pastels as a resist overpainted with acrylic paints- rivers and reflections |
 |
| Using white oil pastels and watered Quink ink - water and cloudy skies |
 |
| Using grey and white oil pastels with watered Khandahar black ink - in skies and water |
 |
| Mix of watered Acrylic paints. The paints seem to always follow a flow at right angles to the direction paint is painted on |
The Bondaweb pieces can be added as another layer to a fabric or stitched piece with a translucent effect
 |
| Used a fine linen scrim to clean credit cards and mop up, which could be used in their own right |
Later on I added some further marks to the Bondaweb using Khandahar black ink applied with a nib - waves, lines and words.
The main problem with all the samples in this section they could wash out, except the resists, and many may fade in the light.. However if making a wall hanging the first may not necessarily be a problem.
Captured this sky yesterday - amazing! A photo not dyed sample! Nature is so beautiful.
3. Space dyeing
Using the guidelines in the Helen Deighan book tried three different methods using trays or baths. The fabrics were scrunched up in the tray before dye was added, then using gloves kneaded the fabrics to help most fabric reach the dyes.
Method 1: Dye is mixed with salt solution, soda is added later in the process
Method 2: Dye, salt solution and soda solutions mixed together
Method 3: Fabric is prepared in a solution f soda and salt, before adding the dye
Of the methods Method 3 required preparation of the fabrics so started with this leaving the fabrics to dry overnight.
Then used
Method 1 which produced more muted effects of the three. It was the quickest method. After 5-10 minutes for the dyes to penetrate the fabrics added soda solution leaving for 30 minutes before draining off the solution to wash and rinse.
Results
 |
| Dry fabric once dried |
 |
| Collection of wet fabrics once dried |
Method 2 gave more vibrant colours and unlike Method 1 the effect of both dry an wet fabrics were equally dramatic. Used those fabrics that reacted best from Method 1, leaving others. Cotton, calico, linen and cotton scrim were particularly good. The thread sample involved wrapping it around a tube and spooning on the dyes.
 |
| Dry fabrics |
 |
| Wet fabrics |
 |
| Tube wrapped with thread |
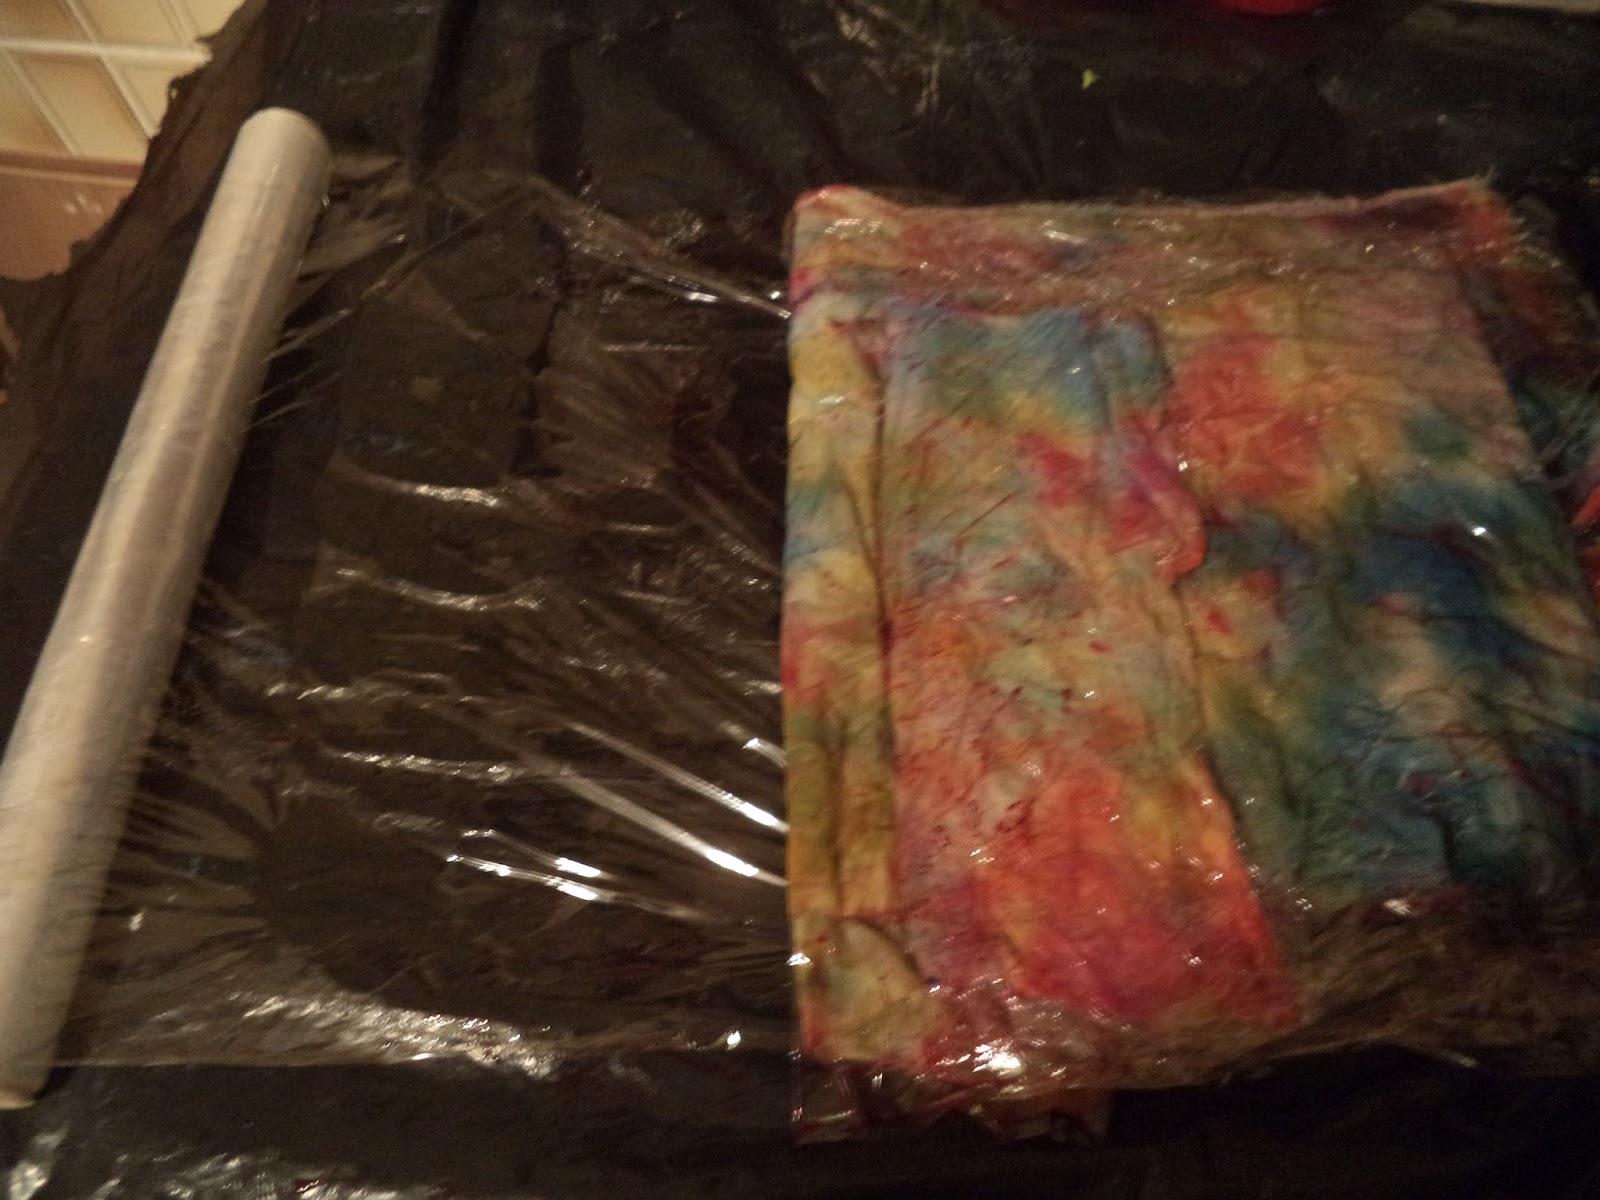
The fabrics were wrapped in cling film and left overnight to complete the process. The tube and scrunched up ball of fabric were put in plastic bags.
Reaction of dye, soda and salt solutions usually only lasts for 3 hours once all mixed together.
 |
| Cling film wrapped around individual pieces of fabric |
Results still appear subtle colouring.
It is strange that of all the dyes Magenta seems to predominate
The above pictures may actually be from Method 1. The samples from Method 2 are definitely more vivid.
 |
| Results of scrunched ball of linen and wrapped thread |
There is an interesting reflection in the dyeing of the linen. I had forgotten that this was part of the sleeve of a top. When cut open gave subtle shades of green and yellow - the green mixed using ultramarine and a little golden yellow and a mirror image!
Method 3 produced the most dramatic colours.
This time I chose to make up three baths, using blues, yellows and turquoise - no Magenta
The third bath was my attempt at producing black from the procion dyes I had. Mixed Ultra blue, golden yellow and magenta. Since this produced a black mix at the end of each process in Method 2 - drained away. But as the results show it didn't happen in Method 3. This was the longest process finishing with covering fabrics with cling film overnight, before rinsing washing and leaving to dry.
 |
Fabrics and threads wrapped in cling film to leave overnight
|
 |
| Bath 1 with dry fabrics - for water |
 |
| Bath 2 with wet fabrics - for water possibly some skies! |
 |
| Bath 3 These definitely don't look black - not suitable for grey seas and skies! |
I find the process of dyeing quite daunting, so feel especially happy with this learning curve. Certainly need to try a few more mixes in order to get required colours, but also had some happy results. I do have a lot more fabrics and threads to add to those commercial ones at the start of this chapter. I am so grateful that I now have Helen Deighan's book to hand.
Just had an idea to stitch into man made fabric with natural threads, then dye the whole piece, where the fabric will rinse clean and the threads hold the colours. That's for another time.