Having collected a range of different papers, did various investigations to see how they tore, ripped, scrunched, folded, gathered or pleated to give different textures.
Investigation 1: Tore strips off the paper, folding and creasing samples
Investigation 2: Rip, fold and scrunch nine papers each to fit into 1/9th of a piece of A4 card
Investigation 3: Manipulating white tissue paper
Investigation 1: Tore strips off the paper, folding and creasing samples
- Selected several papers in white or neutral colours with varying thicknesses
- Divided A4 sheet of black paper into 4
- Used PVA glue on a plastic surface
- Spread glue using an old credit card
- Labelled each with a white felt tip pen
Having selected a number of papers, tore a piece roughly the size of the quartered A4 sheet.
Tore one strip with the grain, tore one piece with the grain, remaining piece creased in pleats as best as possible.
For each black quarter, PVA glue was spread across the top for the pleated sample, in the middle for the torn piece against the grain, across the bottom for the piece torn with the grain.
Each were labelled with the type of paper and whether the strip was against or with the grain.
Insert all samples in sequence
The easiest to tear and pleat were those thinner papers. It was interesting seeing the background paper showing throw where the paper was a single sheet stuck down. The more difficult, those that were thicker especially the corrugated card. This I expected to easily fold with the dips but it proved difficult to stick down, the pleats choosing to fold where they wanted rather as I chose!
Paper tore much easier with the grain. When tearing against the grain there were often interesting edges indicating different layers to the paper.
Investigation 2: Rip, fold and scrunch nine papers to fit into 1/9th of a piece of A4 card
- Selected 9 papers of different thickness from those used in the first investigation, tearing them into A4 size
- Divided an A4 card into 9 sections
- Used PVA to stick down the scrunched and folded papers, spreading the glue with an old credit card
- The sections were labelled on the back of the card
In clockwise order there is kitchen paper, greaseproof paper, brown wrapping paper, white tissue paper, white cake box card, newspaper, crepe paper, waxed food packaging, Khadi paper (hand made)
Insert photo of papers on the A4 card
Comments
Kitchen paper easily scrunched into the space and like the additional texture on the paper
Greaseproof paper crunched reasonably easily into the space and like the cracked creased effect
Brown wrapping paper, had to scrunch and manipulate a lot undoing and re-crunching before it was soft enough to fit in the space
White tissue very easily scrunched into the space, with some of the background showing through between the folds
Cake box card proved very difficult and gave up. I rather liked the veined effect, with some texture along each. Cut a piece 1/9th of A4 and stuck it down!
Newspaper easily manipulated with different folds and dips
Waxed food packaging took a lot of manipulating. Highly textured with sharp creases
Khadi paper in the centre also needed a great deal of squashing and manipulating to fit the space. Highly textured but wit a soft effect almost like suede.
Investigation 3: Manipulating white tissue paper
For this investigation black and white was used to completely contrast
- Selected white tissue paper for the next series of samples paper generally the same size as the black paper
- Divided A4 sheet of black paper into 4
- Used PVA glue on a plastic surface
- Spread glue using an old credit card
- Used some different tools to cut the tissue, pinching shears, hole punch
- Hand stitched gathered paper using Madeira white quilting and stitch thread (larger strips of tissue)
- Machine stitched gathered paper using same thread
Insert all samples in sequence
White contrasted more sharply when creased or folded as stuck down, with the black standing out where glued flat sheet areas
Often interesting tonal changes across each sample
Liked using the glue to shape ripples when tissue attached to black paper, creases gave wonderful veined effects.
Different ripple effects with tearing paper, cutting paper, rolling and layering torn strips
Hole punched paper contrasted well with 1” cut and rolled pebbly texture and 1cm squares cut, scattered and overlapped one another
Hand stitched gathering produced extra textured surfaces as pleats, with some variation between those with close stitching against those with longer stitches. Circles of paper gathered along one edge were quite fiddly but provide yet another texture like the barnacles on the groynes in Chapter 1. Need to make sure one end is held in place as pull the thread to gather the paper.
Machine stitched: Used running stitch 6 setting for length. The first set were closer rows to the second set. Used double layer of tissue which allowed the paper to stitch and feed through smoothly. Single sheets caused difficulties. It helped turning the stitch at one end of a double row to hold in place pulling with the top thread to gather. (Does not work so well trying to pull both threads). In each sample the threads indicate how the gathered tissue was placed on the paper, in the direction of the stitching or across. It was quite difficult making smaller pieces of gathered paper.
Additional samples
While investigating the different papers also came across different materials already textured which might be useful to use in textured work.
Insert A4 sheet with different labelled samples
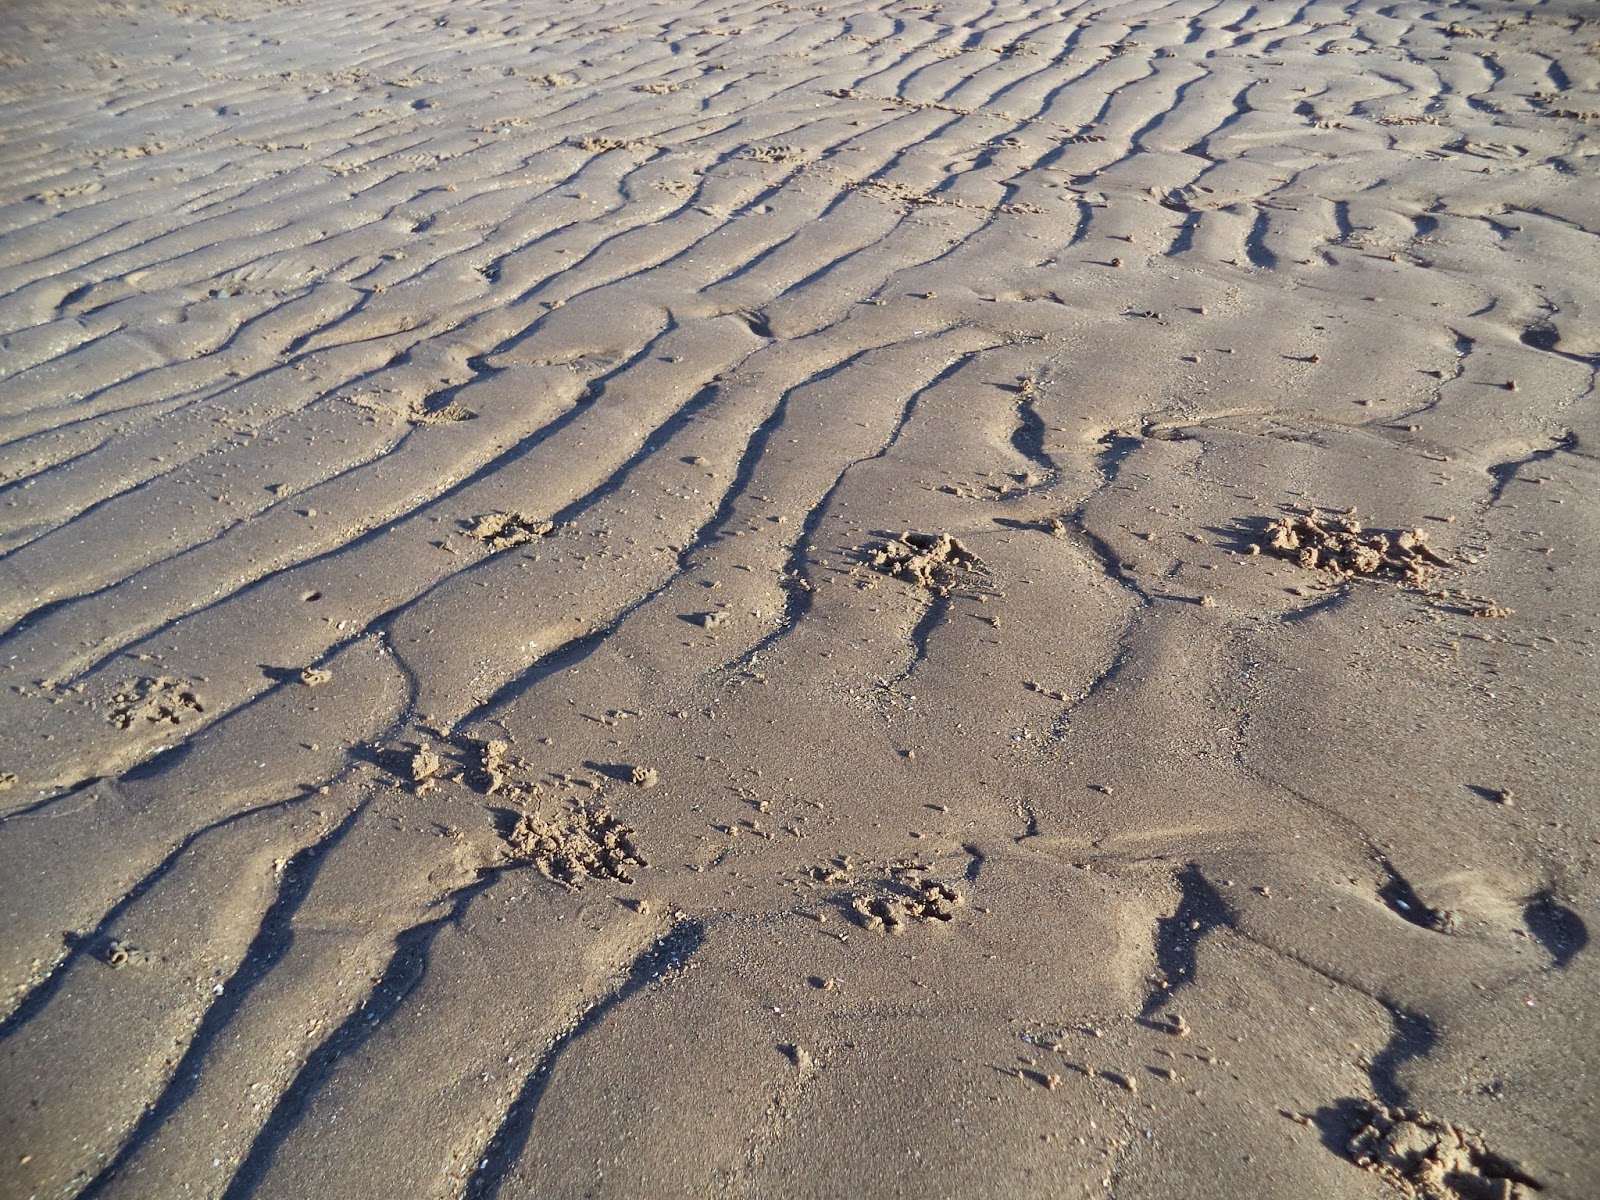
Its amazing how there are so many ways of manipulating paper to form different textured surfaces. At the back of mind I was also considering those that might be of use when producing a seashore landscape.


